# 快速搭建专属的私人网盘系统-iFileSpace
# iFileSpace介绍
iFileSpace 是一个在线个人文件管理工具,在线网盘程序,可快速一键搭建私人云盘,支持本地存储和对象存储(阿里云oss,腾讯云cos,华为云obs,又拍云,七牛云,OneDrive及其他支持S3协议对象存储), 如部署在公网服务器,可替代百度网盘等在线网盘,自主搭建,数据完全自主管理!也可部署在家庭软路由、nas等个人存储设备中,作为局域网文件管理工具使用。支持多用户、多存储空间、资料库、webdav、离线下载及精细的后台权限管理。
iFileSpace 是一款 Go 语言开发的免费在线个人文件管理工具 (免费网盘架设程序),你可以用它在 VPS 服务器或局域网电脑上快速一键搭建私人云盘。软件支持将用户的文件数据保存在本地存储,或者保存到后端对象存储服务去 (如阿里云 OSS、华为云 OBS、OneDrive 等)
# 安装流程
官方网站: https://ifile.space/
安装文档: https://ifile.space/docs/home
本地安装系统说明
系统:centos7
IP: 192.168.1.5
端口:3030
用户名密码: admin 密码随机
1
2
3
4
2
3
4
# 服务端安装
进入官网选择需要下载的服务端。
下载并且解压
$ mkdir -p /data/wwwroot/web/iFileSpace
$ cd /data/wwwroot/web/iFileSpace
可以去官方现在linux版本:  https://ifile.space/download
$ wget http://js.funet8.com/centos_software/ifile_linux_amd64_1.8.9.zip

$ unzip ifile_linux_amd64_1.8.9.zip
$ ls -l
total 43272
-rwxr-xr-x 1 www www 35857236 Sep 28 16:44 ifile
-rw-rw-r-- 1 www www 15574285 Sep 30 11:29 ifile_linux_amd64_1.8.9.zip
1
2
3
4
5
6
7
8
9
10
2
3
4
5
6
7
8
9
10
运行
运行:
./ifile &
初始管理员账号: admin
初始管理员密码: EbVIEgRa

    ____ ____ _  __         _____
   /  _// __/(_)/ /___     / ___/ ____   ____ _ _____ ___
   / / / /_ / // // _ \    \__ \ / __ \ / __ \// ___// _ \
 _/ / / __// // //  __/_  ___/ // /_/ // /_/ // /__ /  __/
/___//_/  /_//_/ \___/(_)/____// .___/ \__,_/ \___/ \___/
                              /_/
==========================================================
Version:1.8.9
文件扫描计划任务启动成功,默认每小时0分启动,后台修改周期后需手动重启应用
系统启动成功,监听端口: 3030
1
2
3
4
5
6
7
8
9
10
11
12
13
14
15
2
3
4
5
6
7
8
9
10
11
12
13
14
15
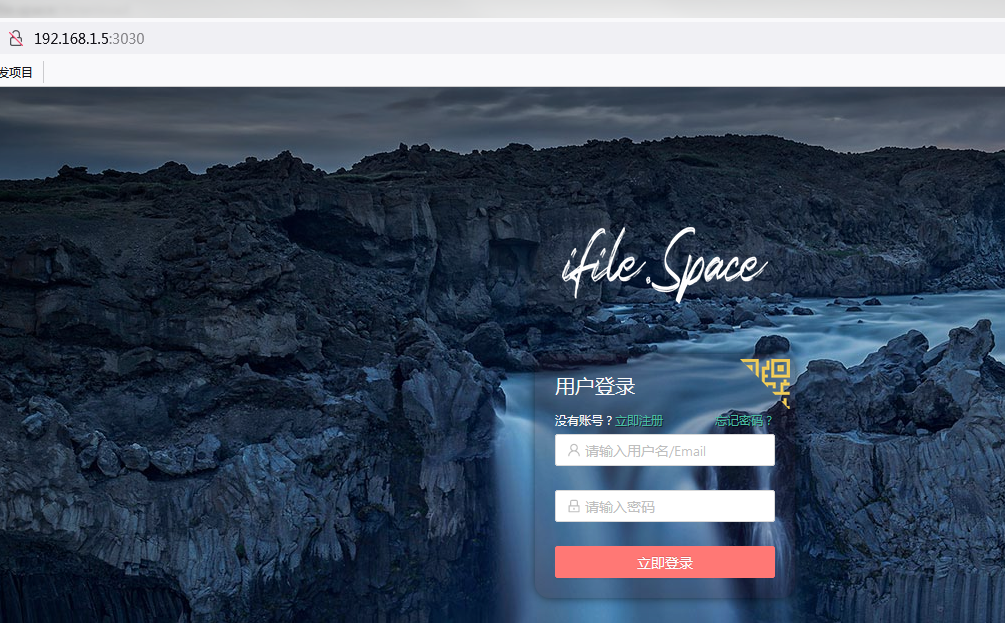
访问: http://192.168.1.5:3030/ 进入后台
# Docker 使用
提供了docker镜像方式启动
docker run -itd --name ifile \
--restart always \
-p 3030:3030 \
-v /data4T/docker_file/ifile/conf:/ifile/conf \
-v /data4T/docker_file/ifile/files:/ifile/files  \
-v /data4T/docker_file/ifile/data:/ifile/data \
-v /data4T/docker_file/ifile/assets:/ifile/assets \
-v /data4T/docker_file/ifile/tmp:/ifile/tmp \
-v /data4T/docker_file/ifile/thumb:/ifile/thumb \
-v /data4T/docker_file/ifile/logs:/ifile/logs \
-d lgs821/ifile

#替换 ‘~/ifile’ 为您的路径
# -v ~/ifile/conf:/root/conf 映射配置文件目录
# -v ~/ifile/files:/root/files 映射宿主机文件夹为默认存储空间
# -v ~/ifile/data:/root/data 映射数据库文件夹
# -v ~/ifile/assets:/root/assets 映射自定义相关文件夹
# -v ~/ifile/tmp:/root/tmp 分片上传临时文件夹
# -v ~/ifile/thumb:/root/thumb 图片缩略图缓存目录
1
2
3
4
5
6
7
8
9
10
11
12
13
14
15
16
17
18
19
2
3
4
5
6
7
8
9
10
11
12
13
14
15
16
17
18
19
启动后查看系统初始账号密码
docker logs ifile
1
重设管理员账号密码
docker exec -it ifile /bin/sh
./ifile -resetpass
exit
1
2
3
2
3
IP+端口访问:
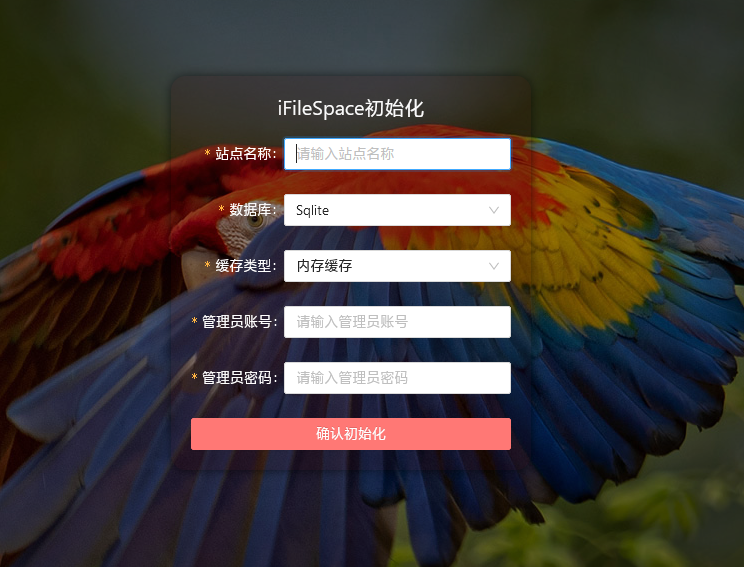
# 设置页面
# 守护进程
vi /usr/lib/systemd/system/ifile.service
1
或者新建ifile.service 文件复制下方内容粘贴,上传到服务器 /usr/lib/systemd/system/ 目录。
[Unit]
Description=ifile
Documentation=https://ifile.space/docs
After=network.target
Wants=network.target

[Service]
WorkingDirectory=/ifile文件所在目录
ExecStart=/ifile文件所在目录/ifile
Restart=on-failure
RestartSec=10s
KillMode=mixed

[Install]
WantedBy=multi-user.target
1
2
3
4
5
6
7
8
9
10
11
12
13
14
15
2
3
4
5
6
7
8
9
10
11
12
13
14
15
命令
# 更新systemd配置
systemctl daemon-reload
# 设置开机启动
systemctl enable ifile

# 启动服务
systemctl start ifile
# 停止服务
systemctl stop ifile
# 重启服务
systemctl restart ifile
# 查看状态
systemctl status ifile
1
2
3
4
5
6
7
8
9
10
11
12
13
2
3
4
5
6
7
8
9
10
11
12
13
# Nginx 反向代理示例
Nginx 反向代理需添加:proxy_set_header X-Forwarded-Proto $scheme;
server {
    listen       80;
    server_name  demo.ifile.space;
    client_max_body_size    1000m;

    location / {
      proxy_set_header Host $host;
      proxy_set_header X-Real-IP       $remote_addr;
      proxy_set_header X-Forwarded-For  $proxy_add_x_forwarded_for;
      proxy_set_header X-Forwarded-Proto $scheme;
      proxy_pass http://127.0.0.1:3030;
  }
}
1
2
3
4
5
6
7
8
9
10
11
12
13
2
3
4
5
6
7
8
9
10
11
12
13